

When you see something fantastic in the real world, maybe you can make it better? Sometimes a small tool can make a big impact and tell a great story.
Objective:
For two summers I worked at a company who had a Slack group culture I’d never seen before. Their lead designer would hack together pictures and gifs of other employees and turn them into Slack emojis for the company to use. They were so much fun to use and getting your own emoji felt like being further accepted into the culture of the company.
Seeing what an amazing effect custom Slack emojis could have, I decided to try it out in my own Slack group for the University of Alberta Computer Engineering Club (CompE Club). The new club president had a mandate to make the club more fun and friendly so this was a great opportunity to test the theory.
After getting my picture taken and posted in the Slack group when I fell asleep in the clubroom, I decided to take that picture and make it a meme to turn into Slack emojis. CompeCheeks and CompeForehead were born:

The emojis were huge hits, bringing a new dynamic of fun and joking around to our Slack group. They worked so well that the next year, friends who had graduated messaged me expressing how much they they missed the CompE emoji reactions!
The objective of this project
is to design and develop a clean and simple mobile app that makes uploading custom Slack emojis easy and simple.
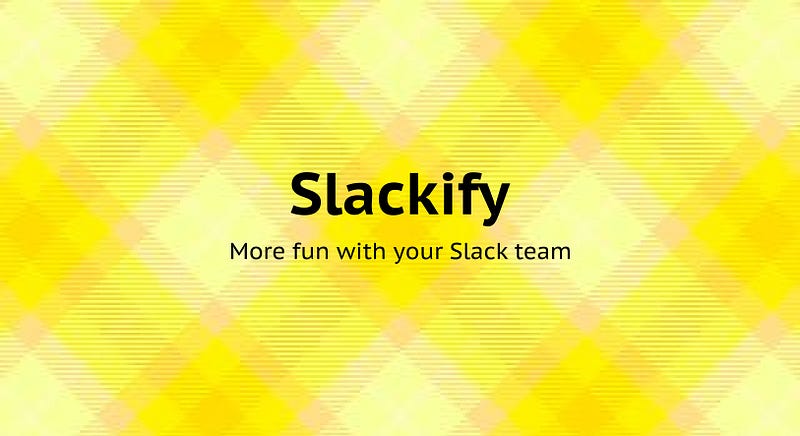
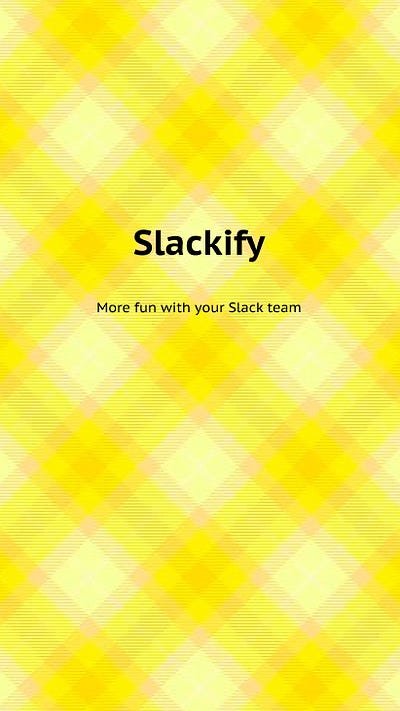
Slackify:
Slackify is a React Native Expo app that allows users to choose photos from their Camera roll for them to upload to Slack. With this app, a team can quickly grow their custom emoji index with all manner of photos.
Designing Slackify:
Design Inception
To begin, I thought about the types of feelings that Slackify users would have as they downloaded and used the app.
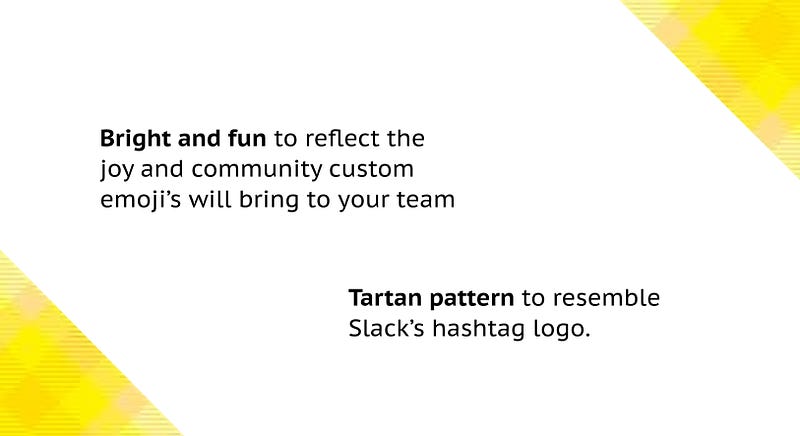
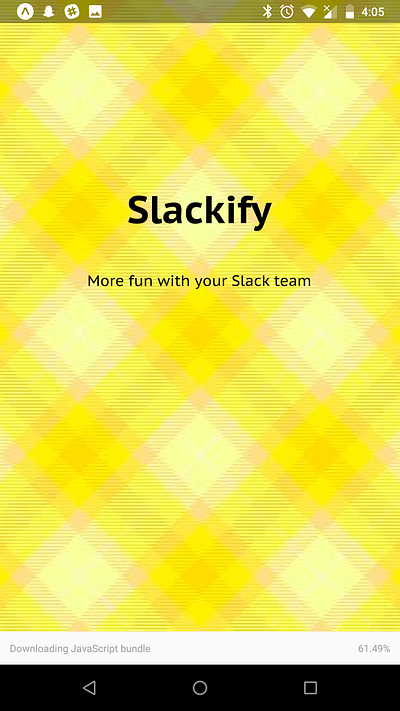
I also took inspiration from Slack’s hashtag logo with a beautiful tartan pattern I found online.
Style Guide:
The design language I chose for Slackify was to be very clean and simple.
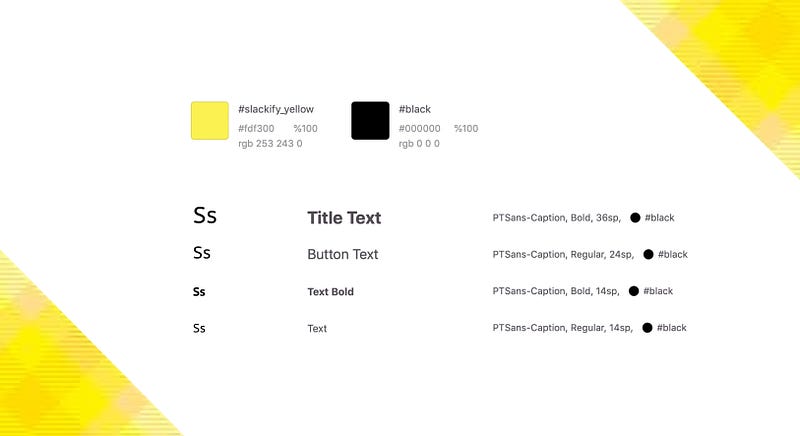
The Black and Yellow design is very bright and bold thanks to the high contrast and the powerfulness of the Yellow. The use of PTSans-Caption, with its unique serifs, helps the Black text keep up with how punchy and vibrant the Yellow is.
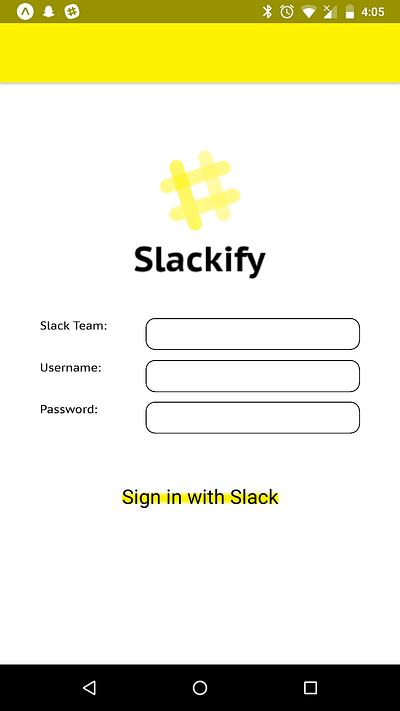
Screens:
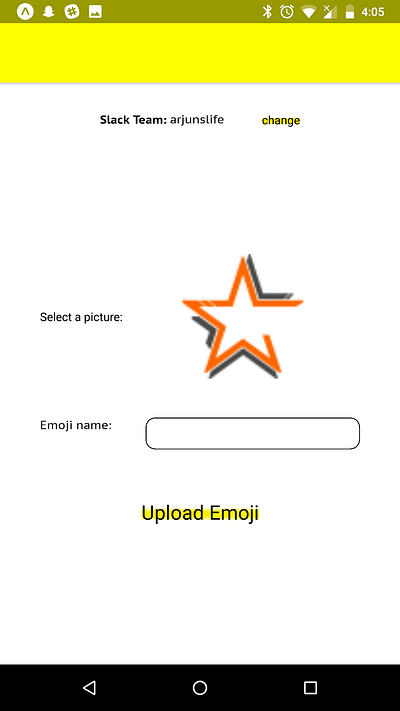
To create the stripped down and simple design I only thought about the functionality that the user needed. The user would need to log into their Slack team, so I created a simple sign in screen, and then be able to upload emojis from their photo album. Users would need to see what Slack team they are uploading to and change that team if need be.
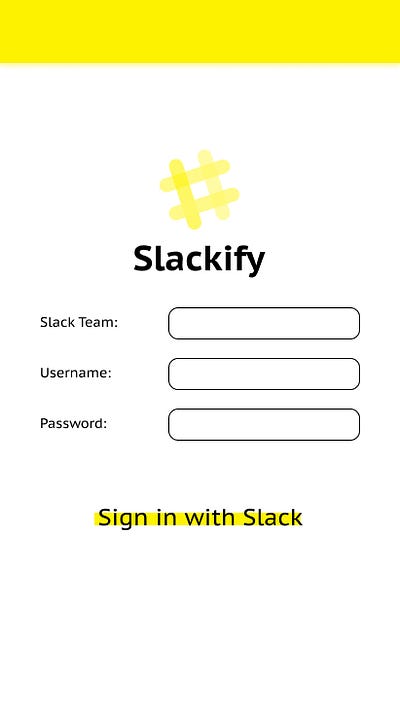
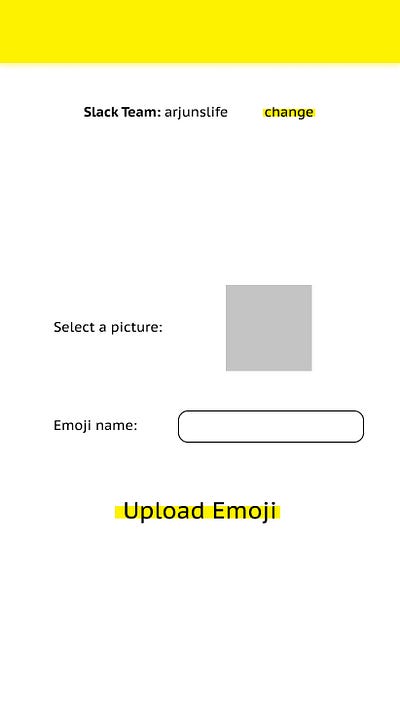
The design is kept minimalist as the functionality is also quite minimal, this makes the app very approachable and simple.
I’d also like to make a note about the buttons, since they’re one of the only elements of the page that incorporate the Yellow. Using a KnockOut style for the buttons was an intuitive decision and I’m really glad I chose to go with it. They look great, and they’re filled with the sense of action.
Coding the Design
StyleSheet
I used the StyleSheet from react-native for all the components so that each component would have its own StyleSheet. These would look like this:
const styles = StyleSheet.create({
    emojiFormPicture: {
         flexDirection: 'row',
         alignItems: 'center',
         marginBottom: 40,
     },
     emojiForm: {
         marginTop: 100,
         width: '80%',
     },
I originally wanted to use one of the naming convention standards that I had recently learned at a conference, but since the CSS here was so small I chose to go with my own naming convention.
As you can see above, each component’s styles would begin with the name of that component, so since this is the component for the emoji page it begins with emoji. This is followed by the section name, in this case it’s the Form section for the form that will post the emoji. And then finally the element name if there is one, shown is the Picture element.
Custom Fonts
Expo, the XDE I used to create the React Native app, has a very interesting method of installing Custom Fonts into the app.
async componentDidMount() {

   await Font.loadAsync({'PT-Sans-Caption': require('./path.ttf'),
                         'PT-Sans-Caption-Bold': require('pat.ttf'),
   });

   this.setState({fontsLoaded: true})
}
I used the state variable fontsLoaded to ensure the View would only load when the fonts are loaded. Very interesting. Check it out in App.js and read more about it here.
A Small Note
I’d like to note one interesting thing about the CSS that I kinda hacked together. react-native doesn’t allow all the CSS properties and it made it difficult to create the buttons that I had designed. I actually used a Linear Gradient element to reproduce the Knock Out effect desired.
<View style={styles.buttonContainer}>
     <LinearGradient colors={\['white', 'white', 'white', YELLOW, ...
        <Text style={{fontSize: style={{fontSize: this.props.size...
     </LinearGradient>
</View>
Sometimes you have to pull some queasy compromises. Also in that same button component, I modularized the font size to make the smaller Slack team change button easier to make. A neat trick I think to make more flexible components for easier front-end work.
The Results
Check out the screenshots from my phone! I’d say the design came through really well. I was able to code up pretty exactly what I designed.
The project is still unfinished, I need to add the Slack signin API and emoji add API. But this is awesome work, and work that you can check out!
Try on your device:
Install the expo app for Android or iOS, go to the Explore section, search for Slackify and use the prototype!
Try on the web (Expo Snack):
Go to this link! You’ll see all the code and be able to try out the prototype.